
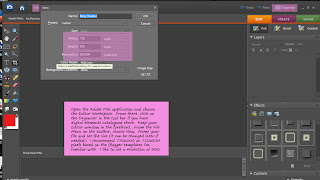
Step 1: Create a new file in PSE.
 Step 2: Bring digital elements into your Editor workspace.

Step 3: Use your Text tool to add text over your graphics.

Step 4: Merge Layers once you are satisfied with your composition.

Step 5: Save your file as a .jpeg or .png.

Step 6: As a part of the saving process, choose the relative size of the .jpeg file.

Step 7: Open your blog and choose Customize on the toolbar.

Step 8: Click on the Edit button on the header element.

Step 9: Select From your computer and browse to find the file you created. Open the file and then choose your placement. Be sure to save your changes. Preview or view blog to see the results.

Step 10: Evaluate and adjust the size of the header, as needed.


No comments:
Post a Comment